Welcome to this weeks post with Heartfelt Creations. I made a scrapbook layout using the Cascading Fuchsia Collection. I also have a tutorial included.
Stop by Heartfelt Creations blog for some beautiful inspiration by my teammates.
Products Used:
Cascading Fuchsia Paper Collection
Cascading Fuchsia Cling Stamp Set
Cascading Fuchsia Die
Botanical Wings Cling Stamp Set
Botanical Rose Cling Stamp Set
Botanical Wings Die
Luggage and Tags Die
Sweet Lullaby Die
Memento Dye Ink Pad - Tuxedo Black
Memento Dye Ink Pad - Cottage Ivy
Memento Dye Ink Pad - Danube Blue
Memento Dye Ink Pad - Lilac Posies
Deluxe Flower Shaping Kit
Art Institute Glue - Dries Clear
Flourish Crystal I Clear
Spring Bling Prills
Crystal Sparklets
Project Instructions:
Other Products: Flamingo Liquid Pearls, Recollections embellishment set, Copic Marker E59, pink card stock, ruler, sponge, craft mat, black marker, pencil, scissors.
Instructions: Take three pieces of card stock from the Cascading Fuchsia Collection and leave one 12" by 12", one 11" by 11" and the other one 10" by 10". Take a ruler and draw a line 7" across the top, and 7" line down the center. Cut the line with scissors or a craft knife. Roll the edges back to each side. Sponge all of the edges with blue and pink ink, then distress the edges. Glue them together.
Stamp three sets of each size Fuchsia flowers and stamens. Sponge them with pink ink, then mold and shape them. Add Liquid pearls to the ends of the stamens. I will have a tutorial of how I made my flowers on my blog here. Stamp butterflies, leaves, and Botanical Roses on papers from the paper collection. Cut each one out with the matching die. Sponge blue ink on the roses, and add prills to the centers. Sponge green ink on the edges of the leaves. Sponge black ink on the edges of the butterflies. Cut two strollers from the Sweet Lullaby die. Die cut tags and tickets from the paper collection with Luggage and Tad die. Then cut out a few small card fronts to add to the project. Add all of the elements to the layout, using the photo as a reference.
Other
products used: Flamingo Liquid Pearls, Recollections embellishment set, Copic
Marker E59, pink card stock, ruler, sponge, craft mat, black marker, pencil,
scissors.

Take
Three pieces of the Cascading Fuchsia paper collection and trim two of them to
11"x11" and 10"by 10". Leave the other one 12" by
12".

Take
a ruler and draw 7" line across the top.

Draw a 7" line down the middle, then take
scissors and cut where the pencil marks are.

Roll
the edges back into a V Shape.

Sponge
the edges of each page with Danube Blue and Lilac Posies. Glue the layers
together with Art Institute glue.

Stamp
Three sets of each size of the Fuchsia flowers on papers from the Cascading
Fuchsia paper collection.

Cut
them out with the matching die.

Sponge
Lilac Posies, covering the back of the flowers and the edges of the flowers.

Turn
them over on their backs. Take the 4mm stylus from the Paper Shaping Kit and
pull the petals towards the center of the flower.

Flip
them back to their fronts and place the 4mm stylus in the center of the flowers
and move it into a circular motion, pulling the petals up towards you.

Do
the same to the leafy ones. Next add three of the petals together to make the
Fuchsia. Adding the leafy one to the top. Place the Flamingo Liquid Pearls on
each of the stamens. Let them dry, then glue them to the inside of the flower.
I colored the stems of the stamens with a black marker.

Take
the matching papers from the Cascading Fuchsia paper collection and stamp the
following: Stamp the Flowers, in Danube Blue ink, stamp the leaves with Cottage Ivy ink, stamp the Butterflies in black in.

Cut
them out with the matching dies.

Mold
and shape the flowers. Add three flowers of the same size together. Place a
puddle of Art Glue to each one. Add prills to the centers. Place a puddle of
Art Glue to each one. Add prills to the centers.

Cut
out the tags and sentiments from the paper collection with the Luggage and Tag
die. You can decide later which ones you want to use. Cut two of the stroller
from the Sweet Lullaby die, and cut one of the Decorative Ovals with pink card
stock.

You
will start adding the pictures, flowers and embellishments to your project.
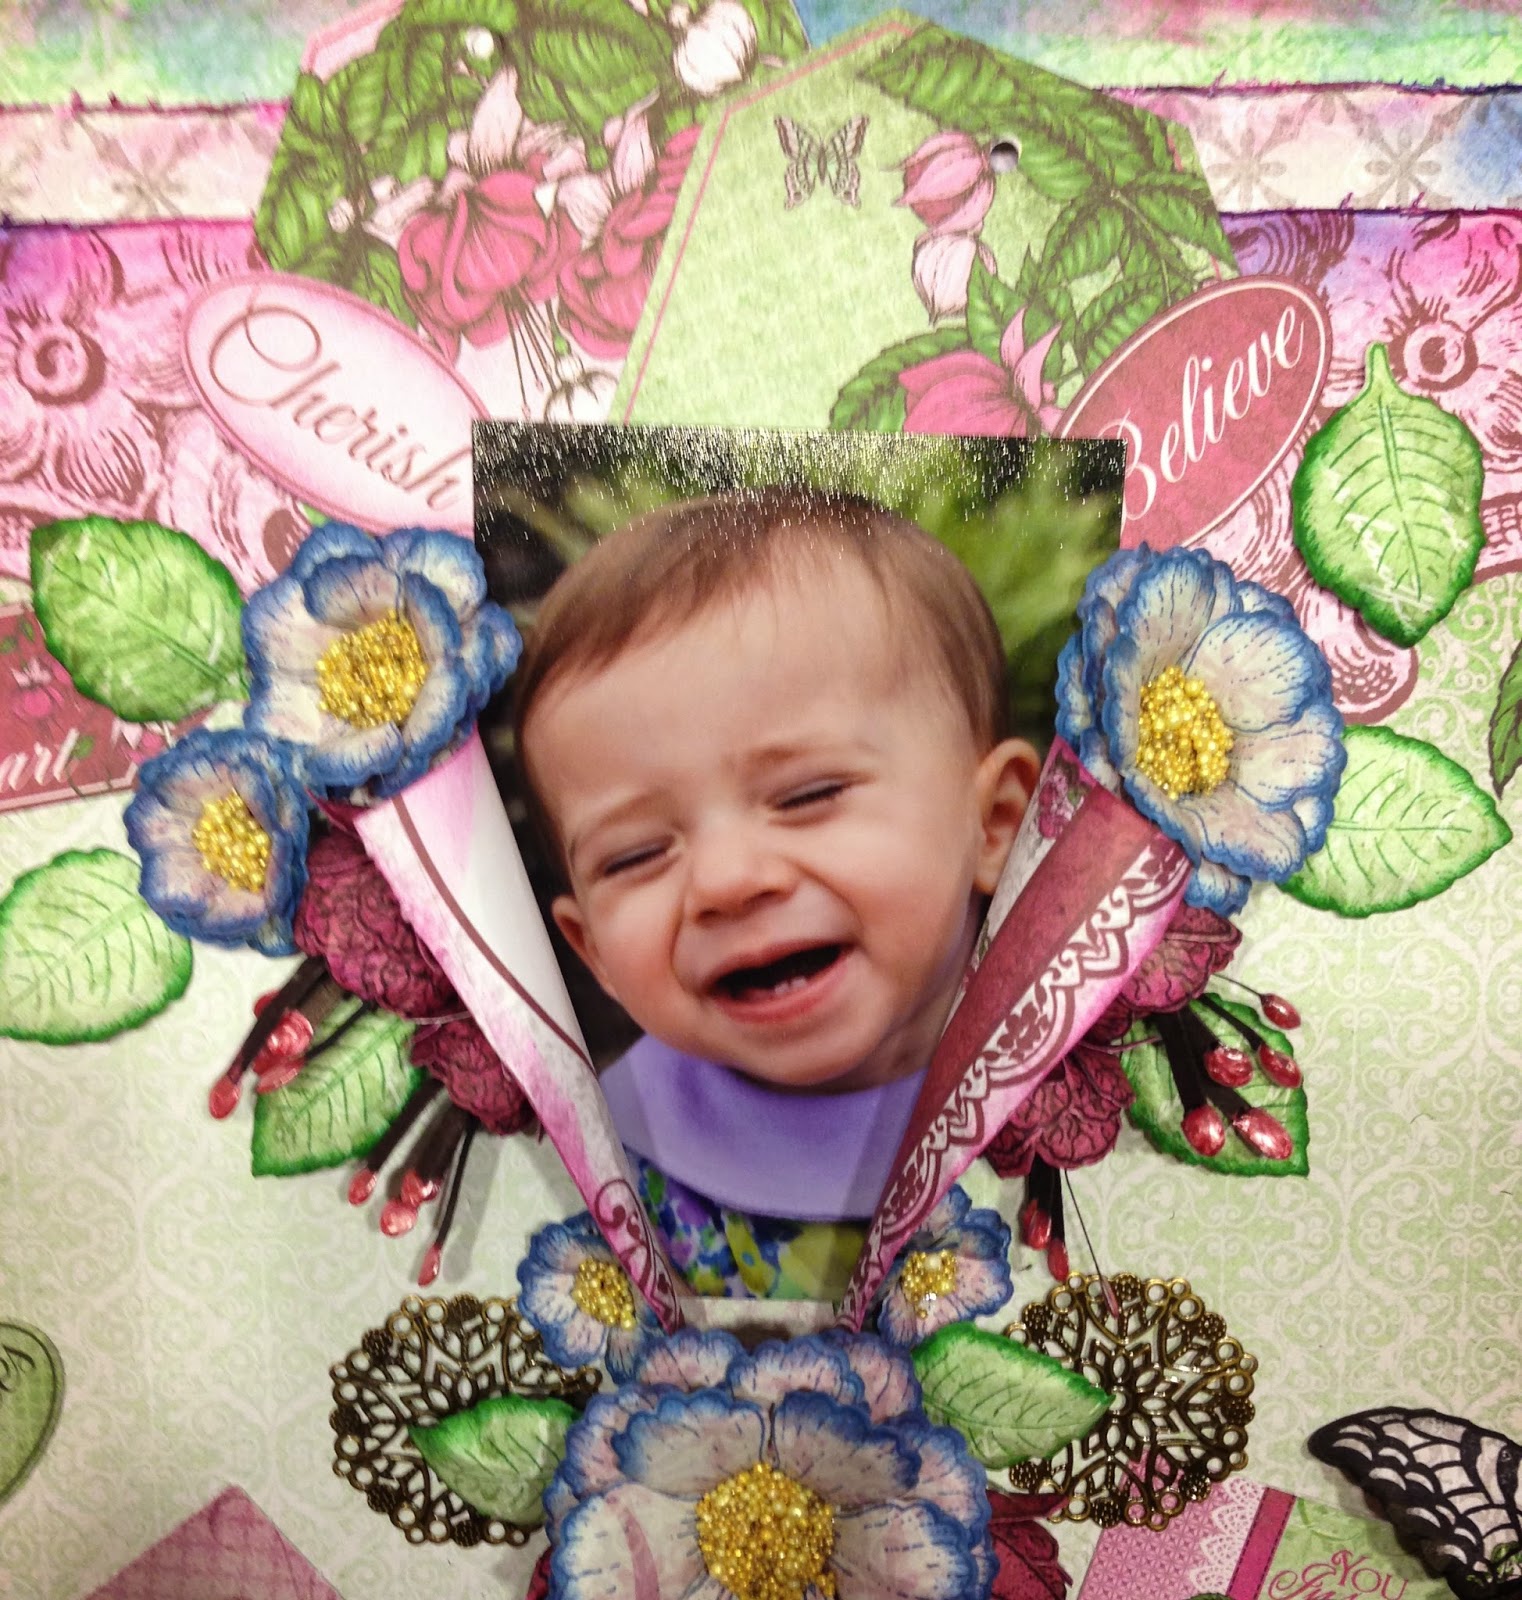
Use
a corner punch to round the edges of the pictures. Then add the 3" by
4" card fronts to the layout. Add the pictures to the side of that at an angle.
Glue the stroller to the top of the photo. Add a butterfly and some Sparklets
to top it off.

Add
all of the flowers, leaves, butterflies, and metal embellishments. Here is some close ups of
that. I will have close ups and more instructions below.

Here
is a close ups of how I added the clear crystals.

I
glued the flowers under the edges of the Botanical roses, and folds.

Here is my completed project. I hope you have enjoyed my tutorial.
I
hope you enjoyed my tutorial. I can't wait to see what you create with the
Cascading Fuchsia Collection.
No comments:
Post a Comment